Can You Use Mason Jars for Kombucha?
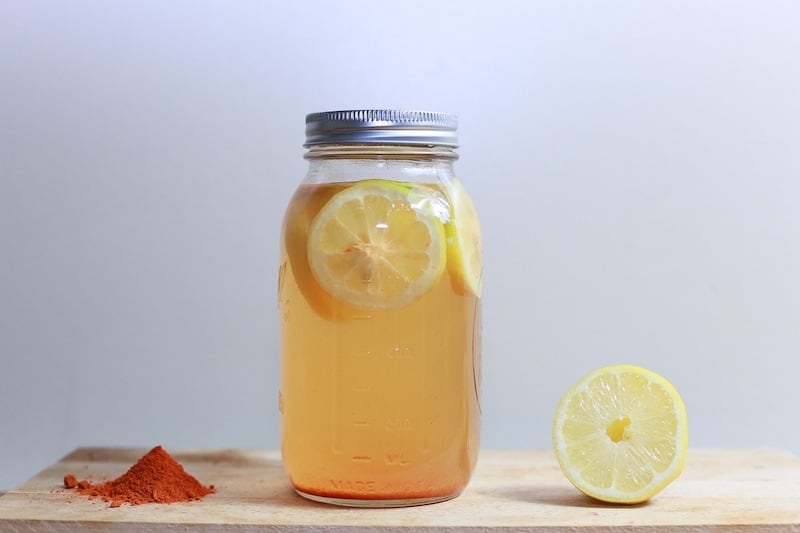
Mason jars are one of the most versatile and sustainable food containers currently available. They’re an excellent investment because they’re both eco-friendly and toxin-free. This is why so many kombucha brewers choose them as the preferred vessel for kombucha fermentation.
Also, you might have noticed that when purchasing kombucha, it’s often stored in a mason jar (or other glass bottle). But can you use mason jars for kombucha during both stages of fermentation?
Mason jars certainly can be used for kombucha fermentation but are really only good for first fermentation and not second fermentation, due to the difference in how they retain fizziness at these different stages. Below I get into the details, covering everything you need to know about the use of mason jars in the kombucha brewing process. I also talk about other types of vessels you can use, like food-grade ceramic and stainless steel vessels.
The Two Stages of Kombucha Fermentation
If you’re only just dipping your toes into making your own kombucha drink, it’s essential to keep in mind that there are two crucial stages to fermentation.
Stage One
In kombucha brewing circles, this is also called F1 (first fermentation.) It can take anywhere from 6-12 days, and during this time, sweet tea fermentation takes place.
You will need the starter culture and the SCOBY (symbiotic colony of bacteria and yeast.) The first fermentation produces the un-carbonated kombucha, which essentially doesn’t have much of a flavor.
Best Vessels for First Fermentation
Without a doubt, mason jars are a perfect vessel for kombucha brewing in stage one of this process. Glass, in general, works great. Many brewers tend to lean towards the 1-gallon glass jars (preferably completely clear for easier monitoring) since mason jars usually only go up to half-gallon in size.
Unlike plastic or metal, glass mason jars don’t absorb stains or the smell of the liquid. They’re also an incredibly durable solution – unless you break them, of course.
During the first fermentation, you can use vessels made from other materials as well. Ceramic is an option that comes to mind, but it needs to be food-grade and not contain any paint that could leach into the kombucha.
Stainless steel, also food-grade, is a good alternative, but unlike mason jars, it won’t let you track the change in color of kombucha accurately.
See my recommended first fermentation kombucha vessels at the end of this article.
Stage Two
When you’ve made a successful batch of healthy kombucha tea, it’s time to add flavor and wait for carbonation. You have many options for taste, but most brewers stick to various fruits and herbs.
The F2 (second fermentation) process takes around 3-4 days and involves leaving your brew at room temperature to carbonate.
Best Vessels for Second Fermentation
If you were in a hurry to use mason jars for the second fermentation, you’d be disappointed to hear that they aren’t the best option for this stage. But can you use mason jars for kombucha during the second fermentation if you want?
Sure, but don’t expect the consistency in fizziness. The problem with mason jars is that it’s challenging to close them air-tight. The metal lids of mason jars don’t keep the carbon dioxide in the bottle, causing the kombucha to lose its fizziness.
That being said, glass is still the best option for kombucha.
You might be tempted to use old beer bottles, especially if you have them around your home. Unfortunately, beer bottles are known to break during the carbonation process. Your best options are recycled store-bought kombucha bottles or high-quality bottles especially made for fermenting kombucha.
In any case, you should avoid getting any type of thin glass vessels of poor quality. Investing in high-quality specialty bottles for brewing kombucha is sure to pay off in the long run.
See my recommended second fermentation kombucha vessels at the end of this article.
What Should You Use to Cover the Kombucha Batch?
When brewing your kombucha, you must keep it covered at all times. Also, don’t use the same cap or lid during the process.
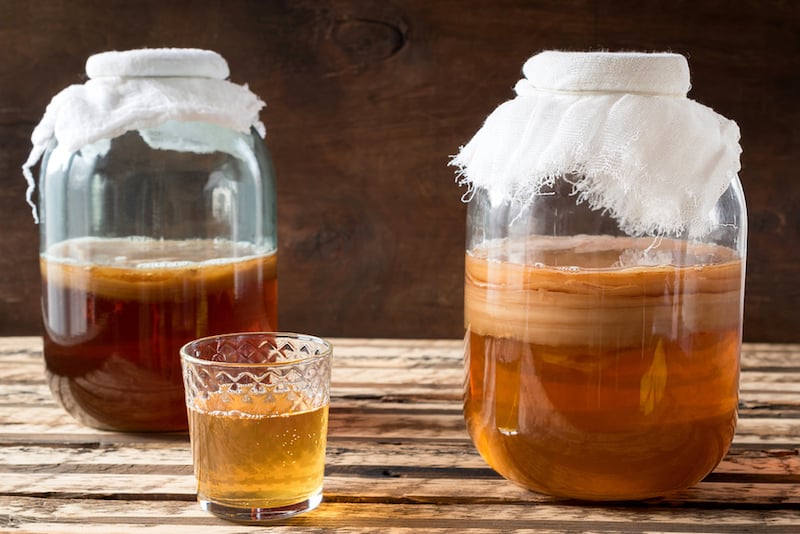
In fact, choosing the right cover for each stage of fermentation is incredibly important. During the first fermentation, a clean cotton cloth is the best option.
You can even use a cut-out piece from a T-shirt. A cotton bandana works well too. The good news is that it’s effortless to cover a mason jar with a piece of cloth.
You will need a rubber band, though. Another cover that will work with the mason jar is a coffee filter. Both will provide enough breathability during the first week or so of fermenting.
During the second stage of fermentation, choosing the right cap is critical. Having a great cap means the carbonation isn’t leaking out of the brews you’ve made.
Trapping all the fizziness is essential. If the glass bottles you have don’t come with caps, purchasing polycone seal caps or basic F217 caps are decent and inexpensive options.
See my recommended kombucha vessels that come with the covers you’ll need at the end of this article.
What About Continuous Kombucha Brewing in Mason Jars?
The two stages of kombucha brewing and the appropriate vessels we’ve mentioned apply to batch brewing. However, there is also continuous brewing of kombucha that requires larger vessels. Usually, continuous brewing is faster and more efficient.
Large glass jars are often the preferred choice in continuous brewing, but only in the first stage. For flavoring and carbonation, kombucha brewers use separate glass containers.
Tips for Using Mason Jars in Making Kombucha
If you’re not going for a carbonated kombucha drink, you can use the same mason jars for both fermentations. But if you want great fizziness, then you’ll need both mason jars and another glass vessel to do the job. So, let’s talk about some of the best practices you can apply when using mason jars for kombucha fermentation.
Choose the Right Size
If you go with a large mason jar, it can be an impractical choice. It might get in the way if you don’t have enough space in your home for it. Too small of a mason jar means that the fermentation can take forever.
A Great Lid Works Wonders
If you’re keen on trying the F2 process in a mason jar, the main goal is to find a cap that will fully close the jar and not let any air infiltrate. You can try a custom-made solution.
Stick to Quality Glass
Many gorgeous mason jars might seem like the perfect option for your kombucha tea brew. Before you purchase the most aesthetically pleasing one, make sure it’s made from durable materials and won’t break during fermentation.

In Summary
If you only use a mason jar for the first fermentation, serving kombucha in small amounts is a great way to consume this gut-friendly tea. Mason jars are an excellent choice for all kinds of food and drinks, meaning they work well with kombucha.
Remember, you might need a unique cap to make all that extra fizziness happen. Therefore, mason jars might not be the best choice.
The glass’s quality is also an essential factor because you don’t want the jars breaking at the end of the fermentation process.
Here are my favorite kombucha vessels:
Mason Jars for First Fermentation
Glass Jars with Covers You’ll Need for Both First and Second Fermentation


