Do You Need to Cook Summer Sausage?
Summer sausage is one of the best holiday treats. It’s easy to pack, has a long shelf life, and most importantly, it’s delicious!
By definition, summer sausage is cured and smoked, meaning the meat is preserved and bacterial growth is heavily delayed. So do you need to cook summer sausage?
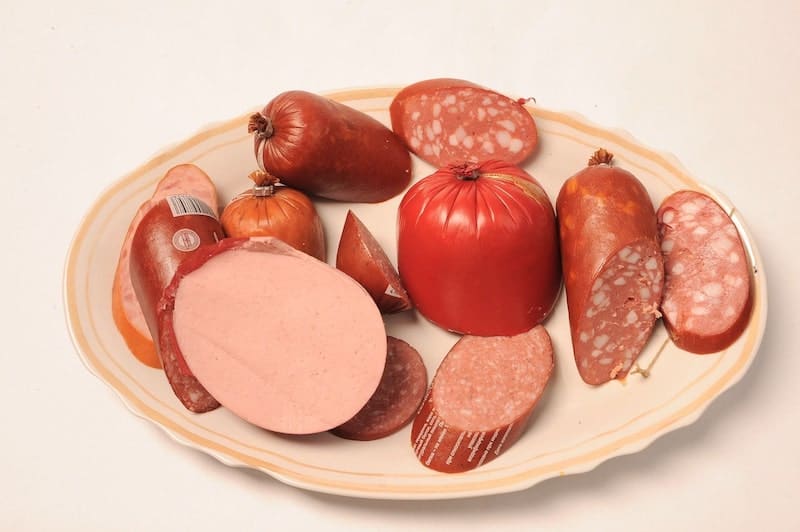
If you’ve bought summer sausage from the store or your local butcher’s shop, there’s no need to cook or prepare it in any way. Summer sausage can be served straight from the package and is an excellent pairing for any charcuterie board you want to serve at the next dinner party.
But what about if you’re making summer sausage yourself at home? The answer will depend on your definition of “cook,” but the meat does require heat processing to be bacteria-proof. In this article, I’ll provide more detail on summer sausage cooking and smoking.
Do You Cook Summer Sausage?
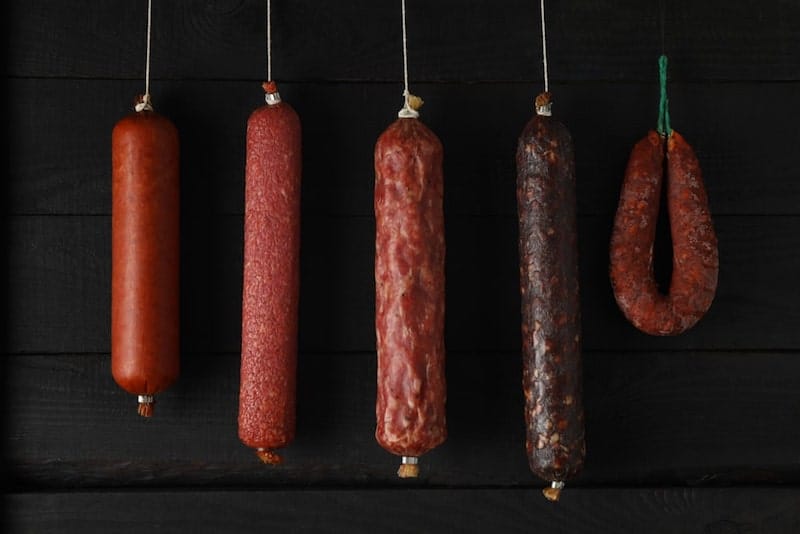
Traditionally, summer sausages were cured, dried, and smoked. The process eliminates most of the water from the meat and makes it unsuitable for bacterial growth. The sausages were developed centuries ago when refrigeration didn’t exist, and people needed to find a use for meat they had available at the time.
Summer sausage is an effective long-term storage solution for leftover meat that won’t lose its taste for years if adequately prepared.
Modern summer sausage is processed similarly, adding other curing agents and flavor enhancers to bypass the long smoking process and make it suitable for consumption.
If you buy a true summer sausage from the store, there won’t be any need to cook it in any way. It can be cut up and eaten directly or added to other dishes as a fresh meat supplement or alternative.
Homemade summer sausage is similarly smoked and prepared, so it won’t need to be cooked either. However, the difference in preparation processes often makes homemade sausage better when put on the grill or mixed into other dishes.
That doesn’t mean you can’t toss a summer sausage on the skillet and give it a nice char. Note that you’ll need to remove the collagen casing, as it doesn’t fare well in high heat.
If paired with other foods, summer sausage will pass on some of its flavors to the rest of the dish.
Smoking Summer Sausage
If you’re making summer sausage at home, you need to go through the curing and smoking process to make the end result appetizing and shelf-stable.
If you don’t smoke the sausage (or bake it in the oven), it will grow bacteria and spoil just like any other fresh meat. The curing process doesn’t help enough, and its main job is to add more flavor to the meat with spices.
But how long do you need to cook summer sausage, and can you do it with home appliances? The answer will depend on what preparation process you plan to go through.
Smoking is the traditional method for preparing summer sausage, although modern appliances replicate the result without too much hassle. Previously, you needed to light a fire and keep it going for a long time to allow enough smoke to do the work.
What Temperature to Smoke Summer Sausage
Once your summer sausage has been cured and the sausage casing is filled, smoking eliminates bacteria and adds more flavor. Depending on how you plan to finish making the sausages, you’ll need different temperatures to provide a suitable result that is safe for consumption.
If you’re making summer sausage in the oven, you’ll need to preheat the oven to at least 185°F (but you can set it to 225° or even 250°F) and leave the cured sausages out of the fridge to get to room temperature.
Once you put the sausages in the oven, monitor the heat with an internal meat thermometer. The temperature you should be aiming for is 165°F. Once baking is done, remove the sausages from the oven and let them cool at room temperature.
If you’re using a smoker to finish the summer sausage (which is the preferred method), you need to preheat it to 145°F and open the dampers. Once the smoker is heated, place room temperature sausages into the smoker and let them dry for an hour.
After the first hour, turn the smoker up to 180°F, add some wood chips, and let sausages smoke for another two to three hours. To finish smoking, add water to the smoker and turn the heat up to 185-190°F until the sausages’ internal temperature around 160°F (preferably 165°F). Remove the sausage from the smoker and allow it to cool.
Once you’ve allowed sausages to cool, you need to put them in the fridge or freezer. Unlike industrial summer sausages, this smoking process is relatively short by comparison and doesn’t fully protect the sausages against bacteria.
How Long Do You Smoke Summer Sausage?
Again, the time it takes for summer sausage to smoke will depend on several factors, including the meat, spices, and casings used to prepare it, in addition to the curing process.
Summer sausage needs to be put into the smoker or oven at room temperature. If you put it in right from the fridge, it’ll take a longer time to smoke.
If you’re using an oven to smoke the sausages, the process will last for a solid amount of time, usually several hours. However, I don’t recommend using time as an indicator of doneness.
For best results, use an internal meat thermometer to ensure the sausages are cooked through. The ideal temperature is around the 165°F mark for oven-baked sausages. The baking time will depend on the oven’s temperature, but higher temperatures won’t equate to a higher quality product.
At 220°F, the baking time will be around four to six hours, depending on the type of oven you have. If you set the oven at 185°F (our recommended minimum), the sausages will take considerably longer to dry and smoke completely.
When using an electric smoker, the time required will depend on the smoker’s temperature and the types of wood used in the smoking process. Generally, the process usually takes six to eight hours from the first time you turn the smoker on. You’ll need to gradually increase the smoker’s heat to get the sausages to an acceptable internal temperature.
Do You Use a Water Pan When Smoking Summer Sausage?
You can use a water pan to prevent sausages from drying out completely during the initial drying phase. Adding this water can help casings remain relatively moist while drying out the meat inside the sausage until it’s done. It also protects the sausages from direct heat, which prevents them from burning if the smoker happens to be too hot.
Water vapor can also help smoke penetrate the sausage casing for certain types of casings. If you have purchased the casings from the store, follow the instructions to get the best result. Alternatively, you can contact a local butcher to help you out.
Ultimately, using a water pan is a personal preference. It won’t affect the result in a meaningful way, although it might lengthen the smoking times.
Making Summer Sausage FAQ
What Size Casing to Use for Summer Sausage?
Summer sausage is best made with inedible fibrous, smoked, or collagen casings. The sausage’s width will greatly influence smoking times, and sausages that are too wide won’t cook as evenly.
For the best result, use a 2” or 2.5” sausage casing. You can opt for 4” casings if you want a thicker sausage, or you can use 1” casings to make the resulting cuts more suitable for serving with crackers.
Summer sausage casings need to be soaked in water for at least 30 minutes before you fill them with cured meat.
How Long Should You Ice Bath Summer Sausage?
After the summer sausage has reached the desired internal temperature, you need to work quickly. If you let the sausages cool down on their own, the casing will usually shrivel and won’t look as appetizing.
Additionally, since most casings are inedible, you’ll have a harder time separating them from the meat. To alleviate these problems, you need to put the hot sausages in an ice bath to reduce their heat considerably in the shortest possible time.
The sausages should be in the ice bath until their internal temperature reaches 120°F or lower. This will usually take 10 minutes.
If you don’t have enough ice prepared for a thorough ice bath, you can just shower the sausages with a hose or dunk them in the tub and run the cold-water faucet until they reach a desirable temperature.
Collagen casings might not require an ice bath, since they can break down due to a sudden temperature change. Consult the instructions provided with your casings to ensure you’re not using them incorrectly.
What Size Grinder Plate to Use for Summer Sausage?
The size of the grinder plate will entirely depend on the type of grinder you own. What matters is the diameter of the holes on the grinder plate. Smaller holes will grind the meat more and give it a finer texture, which might work against you when making summer sausages.
The best grinder plates to use are ¼” or 5/16” grinder plates compatible with your grinder. The number of holes in the plate will depend on the size you chose and how big the grinder is. The difference between the two recommended hole sizes is minute and won’t make a significant difference on the end product.
You can use a larger hole plate for a first grind and then a smaller plate for a second grind to ensure a more even product. The fat needs to be ground well to thoroughly mix with the meat and give it a correct meat-to-fat ratio.
When grinding, make sure the meat is very cold or partially frozen, as that will ensure the grinder properly slices the meat into small chunks rather than mushing it together. If your minced meat is still mushed, the grinder blade might be dull. Changing the cutting blade usually requires changing the plate as well since they’ll often get dull simultaneously.
What Size Stuffing Tube to Use for Summer Sausage?
Stuffing tubes come in various sizes to help push the meat into the small sausage casings. For summer sausages, however, the preferred casing sizes are much larger.
The most common stuffing tubes with 19mm in diameter (3/4”) will work for any casings that are more than 1” wide. For best results, the tube should be about 40% smaller than the casing.
The technique is more important than tube size to ensure there are no air pockets in the socket. You need to handle the sausage delicately, keeping the index finger on the sausage and the thumb on the filling horn. Having another person crank the filling can also help you maintain a firm grip on the sausage and fill it without any air pockets.
Summer sausage with smaller air bubbles in it will be perfectly fine once it’s smoked. In most cases, the casing will also loosen a bit, which will redistribute the air inside. If the sausage has inflated after it has been put in the fridge, something inside is producing gas and is probably not fit for consumption.
In Summary
If you have some spare time and access to high-quality meat, you can easily prepare homemade summer sausage.
Store-bought summer sausage is cured, dried, and smoked using climate-controlled and verified methods, and the meat is ready for use as it is. Homemade summer sausage will require more work, but the end result can be better than store-bought ones since you control the meat and spices going into the product.
Whether or not you need to cook summer sausage will depend on how you’re obtaining the sausage. Homemade sausages need to be “cooked” in the oven or a steamer to get them to a suitable finish.
I hope you have fun making your summer sausage or enjoy eating the ones you bought (or received)!


